Guide to Solvent Welding PVC and CPVC Plastic Pipes and Fittings
Preparation
Assemble the proper materials for the job: Primer, solvent cement, and applicators necessary for the pipe sizes being assembled. Solvent cementing is a fast procedure because you must put together wet joints with speed. An individual joint should be put together in less than one minute on the smaller diameters of PVC piping. Therefore, make certain you have everything necessary to do the job—-rags, knife, saw, sandpaper, applicator, pipe, fittings, file, so that the task at hand can be accomplished quickly, with precision, and in a timely manner.
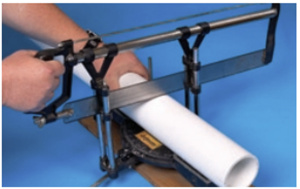
Step 1 – Cutting
Pipe must be cut as square as possible. Use a miter box saw or power saw. Check the end of the pipe with a square to make sure it has been cut squarely. A diagonal cut reduces bonding area in the most effective and critical part of the joint. Plastic tubing cutters may also be used for cutting plastic pipe; however, some produce a raised bead at the end of the pipe. This bead must be removed with a file or deburring tool, as it will scrape the cement away when pipe is inserted into the fitting.
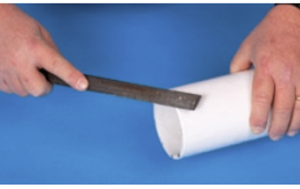
Step 2 –Deburring
Remove inside diameter burrs or raised beads with an internal deburring tool or knife. Remove the burrs or raised beads on the outside diameter of the pipe by using a file or external deburring tool that will produce a 3/32”, 10-15° chamfer (bevel). Burrs can scrape channels into pre-softened surfaces or create hang-ups across the inside fitting diameter.
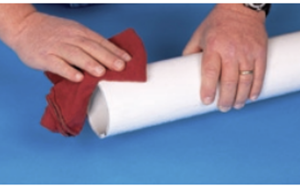
Step 3 – Cleaning
With a clean-dry rag, remove any dirt, grease, shavings or moisture from the inside and outside of the pipe and fitting. A thorough wipe is usually sufficient. (Moisture will retard cure and dirt, grease, or any foreign material can prevent proper fusion).
Step 4 – Dry Fit
Check pipe and fittings for dry fit before cementing. For proper interference fit, fitting should go over end of pipe easily but become tight about 1/3 to 2/3 of the way on. Too tight a fit is not desirable; you must be able to fully bottom the pipe in the socket during assembly. If the pipe bottoms in the fitting with no interference but not loose, a satisfactory joint can be made provided the pipe and fitting are not out of round. To see if a fitting is acceptable for bonding, hold a short piece of the pipe in a vertical position and insert the fitting on the end. If the fitting falls out of the pipe, do not assemble. All pipe and fittings must conform to ASTM or other recognized standards.
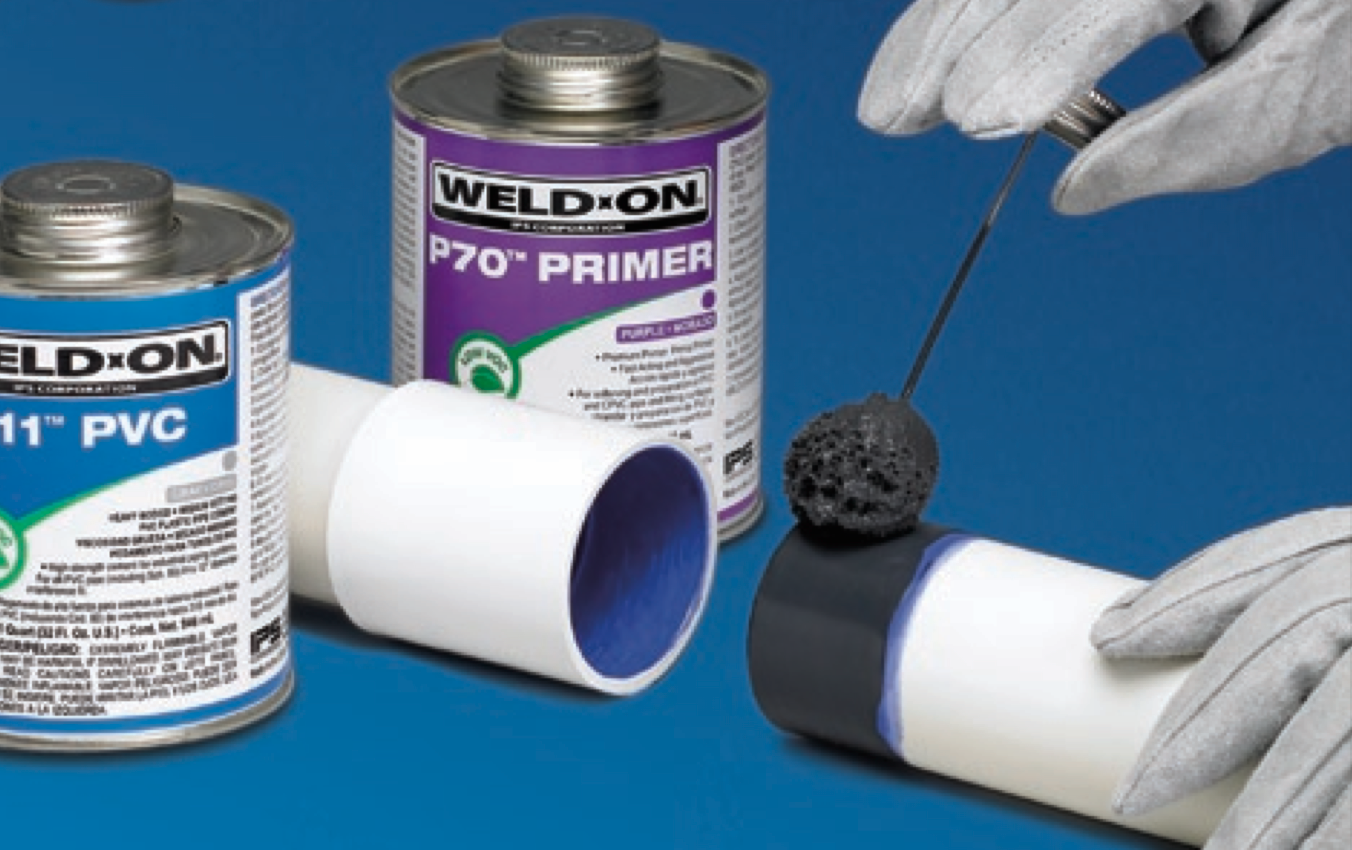
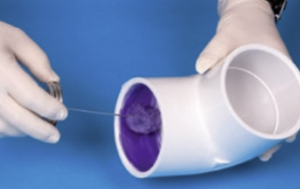
Step 5 – Priming
A primer is used to penetrate and soften the surfaces of the pipe and fittings so that they can be fused together. Begin priming process with proper size applicator, aggressively apply the primer into the fitting socket. Keep the surface wet until softened. It may be necessary to re-dip the applicator in the primer. Do not let primer puddle in the socket. Next, quickly and aggressively apply primer to the pipe up to or just below the mark measuring the fitting socket length. Then, without hesitation, apply a second application of primer to the fitting socket. Again, do not let primer puddle or run past the fitting stop.
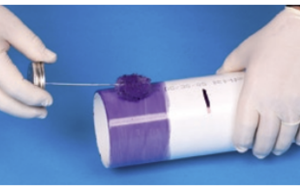
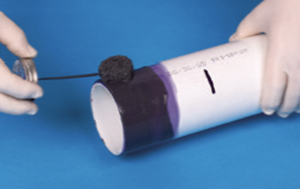
Step 6 – Cementing
Stir or shake the cement before using. Do not thin. While surfaces of fitting and pipe are still wet or tacky from priming, use the proper size applicator to aggressively apply a full even layer of solvent cement equal to the depth of the socket onto the pipe. Avoid puddling primer or solvent in the fitting or downstream portion of the pipe. On bell-end pipe do not coat beyond socket depth or let cement run beyond the bell. Next, apply another full layer of cement on the pipe. Most joint failures are caused by insufficient cement.
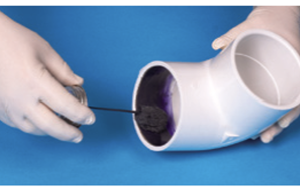
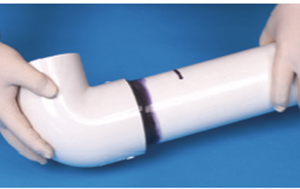
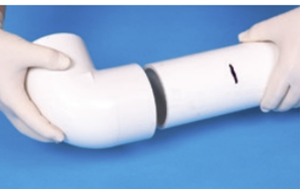
Step 7 – Joining
Immediately, while cement is still wet or tacky, assemble the pipe into the fitting. Do not assemble if cement coatings are hardened. If so, cut pipe and dispose of the fitting and start over. While inserting pipe into fitting, twist pipe 1/8 to 1/4 turn until pipe has bottomed into socket of fitting. Do not continue to rotate after the pipe has reached the socket stop. Hold the pipe and fitting together for at least 30 seconds to prevent movement or push-out. Check around top of joint for a ring or bead of cement. If there are gaps or voids in this bead, sufficient cement may not have been applied and the joint may be defective and leak. Using a rag, remove the excess cement from the pipe and fitting. This bead or excess cement is not needed and will not provide extra strength in the joint and will extend the set and cure time.